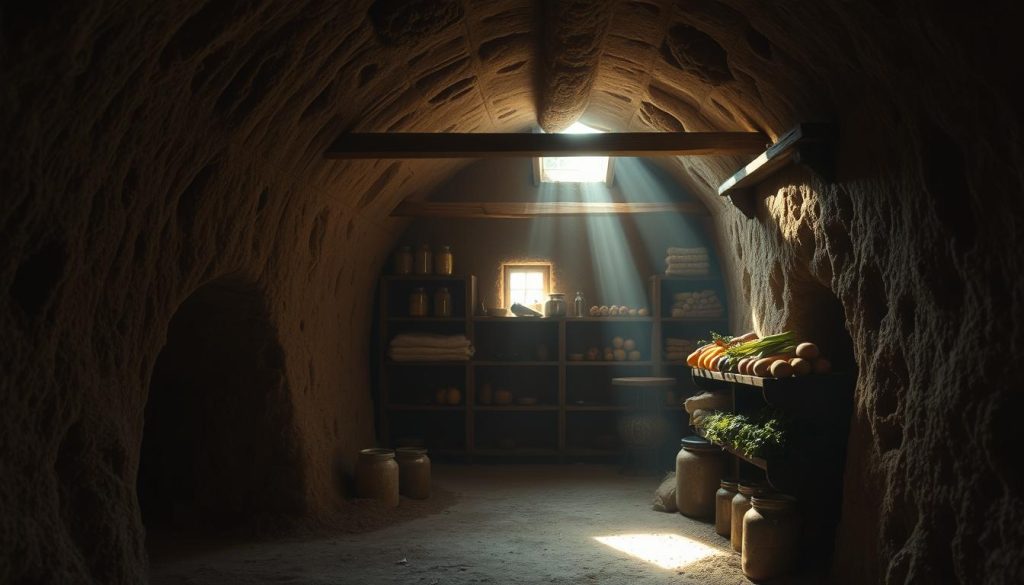
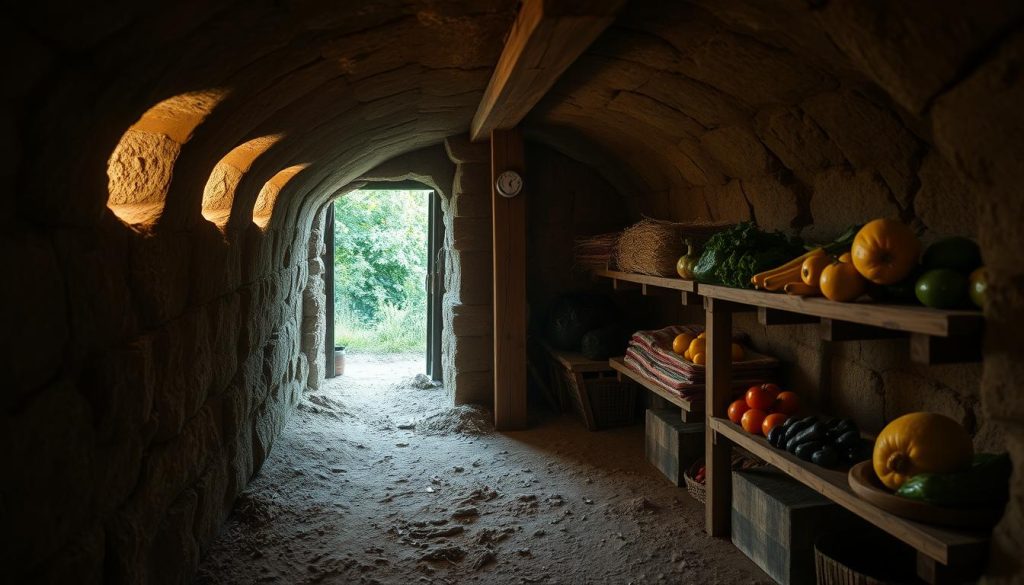
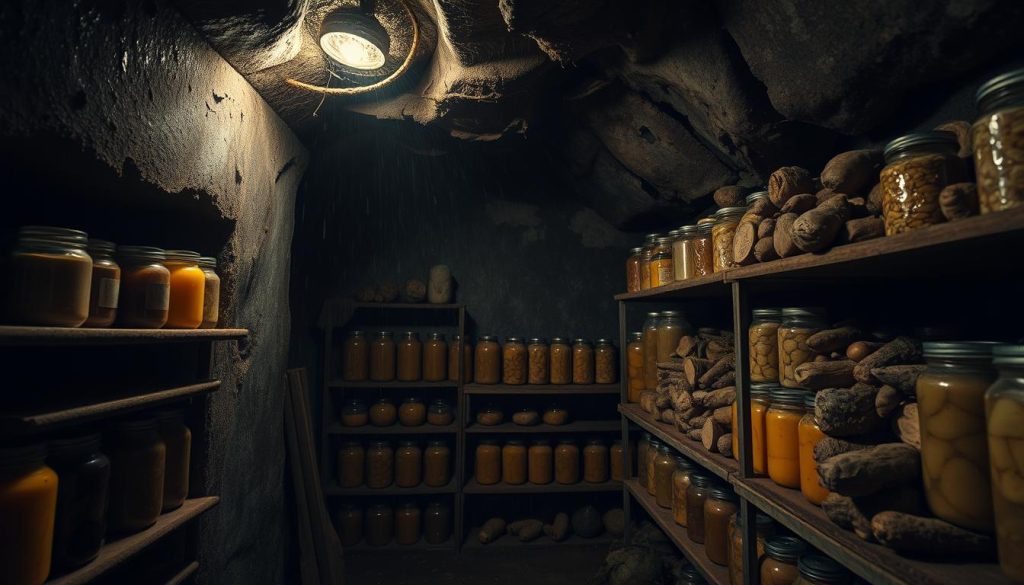
Welcome to the revival of an age-old practice with my comprehensive guide on DIY root cellars. Creating a root cellar design is a great way to start your journey towards sustainable food storage. It connects us to traditional underground food storage and offers a practical solution for preserving food at home.
A DIY root cellar uses the earth’s natural insulation to keep your food fresh for longer. In this guide, we’ll explore different DIY root cellar ideas. You’ll see how simple and rewarding it is to build your own underground storage system. Whether you’re into homesteading or just want a reliable way to keep food fresh, a well-designed root cellar is essential.
Introduction to Root Cellars
Root cellars have been key in human history, offering a natural way to store food. They use the earth’s insulation to keep food fresh. This method is both eco-friendly and cost-effective.
History and Purpose of Root Cellars
Root cellars go back to early farming societies. People back then needed a cool place to keep food fresh all year. Root cellars use the earth’s coolness and moisture for this purpose.
Benefits of a Root Cellar
Root cellars offer many advantages. They help reduce our need for electricity, making them sustainable. The earth’s cooling keeps food from spoiling, so we can enjoy fresh produce all year.
Using a root cellar also saves money. It cuts down on the cost of energy-hungry appliances.
Planning Your Root Cellar
Planning your root cellar is key to its success and longevity. When picking a spot, think about accessibility, drainage, and flood protection. I’ll give you tips on finding the perfect location and checking the soil.
Ideal Locations for Root Cellars
Choosing the right spot for your root cellar is important. It should be easy to get to all year, even when it’s cold or snowy. A north-facing slope is best because it keeps the cellar cool.
Make sure the area drains well to avoid water in your cellar. Also, pick a spot that fits well with your backyard, not getting in the way of gardens or play areas.
Don’t put your cellar in a low spot that might flood. Think about how the cellar will fit into your backyard. Make sure it doesn’t mess up other important areas.
Assessing Soil Conditions
Doing a soil test is a must before you start building. The soil type affects how stable and effective your cellar will be. Sandy soil drains well but might not be strong. Clay soil is stable but can hold water.
Check how deep the soil is to see where the water table is. If the water table is too high, you might need to pick a different spot or add waterproofing. Big rocks and tree roots can also make building hard, so a detailed soil test is essential.
To do a soil test, take samples from different places and depths. Send these to a local farm office for a detailed check. With the test results, you can decide where and how to build your root cellar.
Types of Root Cellars
Exploring root cellars reveals two main types: earth-sheltered and above-ground. Each has its own benefits and challenges. Knowing these can help you choose the right one for you.
Dug-in Cellars vs. Above Ground
Earth-sheltered root cellars are built into the earth. They offer great insulation and stable temperatures. Above-ground cellars, while easier to build, need more effort to control temperature and moisture.
-
Earth-Sheltered Root Cellars:
- Insulation: The earth naturally keeps the temperature steady.
- Construction Difficulty: Digging can be hard and expensive.
- Cost: They cost more upfront because of digging and materials.
-
Above-Ground Cellars:
- Insulation: You need extra materials for insulation.
- Construction Difficulty: They’re quicker and easier to build.
- Cost: They’re cheaper because you don’t need to dig.
Temperature and Humidity Control
Keeping the temperature and humidity right is key for both types of cellars. Good temperature control keeps food fresh longer. Earth-sheltered cellars naturally stay cooler, while above-ground ones might need machines to stay cool.
It’s also important to control humidity. Earth-sheltered cellars keep moisture well, good for some veggies. But above-ground cellars might need humidifiers or dehumidifiers to keep the right humidity.
Essential Materials for Construction
Starting a DIY root cellar project is exciting. It lets you store food all year. To build it well, you need the right supplies and tools. Here’s what you’ll need for success.
Common Building Materials
Choosing the right materials is crucial for your root cellar. They should last long and work well. Here are some key materials:
- Concrete: Great for the foundation and walls. It’s strong and keeps moisture out.
- Wood: Use treated lumber for framing. It’s strong and safe.
- Stone: Good for flooring or extra support.
- Insulation Products: Keeps the cellar’s temperature and humidity steady.
- Gravel: Needed for drainage and the foundation base.
- Plastic Sheeting: Stops moisture from getting in.
Tools Needed for the Project
Having the right tools is as important as the materials. Here’s a list of tools you’ll need:
- Shovels and Spades: Essential for digging and moving soil.
- Concrete Mixer: Makes mixing concrete easier.
- Hammer and Nails: Basic tools for building the wooden frame.
- Level: Keeps your work balanced and accurate.
- Power Drill: Needed for drilling holes and driving screws.
- Measuring Tape: Important for precise measurements and cuts.
- Wheelbarrow: Helps move heavy materials like concrete and gravel.
- Safety Gear: Wear hard hats, gloves, and goggles to stay safe.
Getting ready with the right supplies and tools is key. With this prep, you’re ready to build a strong and useful root cellar.
Step-by-Step Construction Guide
Building a root cellar is a fun and rewarding project. I’ll guide you through the key steps, from digging to putting on the roof. This way, your produce will stay fresh all year.
Excavation and Foundation
The first step is the excavation process. Begin by marking out the cellar’s size on the site. Dig down to the needed depth, making sure the walls are straight and the floor is even. After digging, it’s time to lay the cellar foundation.
Use concrete or stone for a strong base. It will hold the structure’s weight and manage moisture well.
Walls and Ventilation Systems
Building the walls is a key part of the project. Use concrete blocks or treated wood for strong walls. They need to stand up to outside forces.
To keep air fresh and prevent mold, you must install ventilation properly. Put vents at the top and bottom of the walls. This ensures good airflow and keeps the cellar dry.
Roof Design Considerations
The last step is the roofing for root cellars. Design the roof to keep out rain and snow. Use materials like metal sheets or waterproofed wood.
Make sure the roof slopes to let water run off. Add insulation to keep the temperature inside stable. By following these steps, your root cellar will last for many years.
Insulation Techniques for Root Cellars

Insulating root cellars keeps the inside climate stable. This helps keep your food fresh. We’ll look at natural and synthetic materials, their benefits, and downsides.
Natural Insulation Options
Natural insulators are good for the planet. They help keep your root cellar at the right temperature. The earth itself is a great insulator, especially for dug-in cellars.
Straw bales are also a good choice. They insulate well and break down naturally.
- Surrounding Earth: The earth’s natural insulation is very effective, especially in cold climates. It keeps your cellar cool.
- Straw Bales: These are cheap and insulate well. But, they need regular care to avoid mold from moisture.
Synthetic Insulation Choices
Synthetic materials offer better insulation and are easier to put in. Foam boards and fiberglass are popular for root cellars.
- Foam Boards: Foam boards are strong, insulate well, and are simple to install. But, they cost more than natural options.
- Fiberglass: Fiberglass is used a lot in building. It controls temperature well. But, it needs careful handling and safety gear because of health risks.
The secret to good insulation is sealing all seams well and keeping insulators dry. Mixing methods can also work. This way, you get strong insulation while thinking about cost and the environment.
Proper Ventilation Strategies
Keeping your stored goods in the best condition is key. This means your root cellar needs a good ventilation system. Good airflow stops mold and keeps your veggies and fruits fresh.
Importance of Airflow
Good root cellar airflow controls temperature and humidity. It pushes out warm, moist air and brings in cool, fresh air. This balance is crucial for keeping your food quality high.
Without enough airflow, mold and spoilage can ruin your storage. This can make your efforts less effective.
Installing Ventilation Pipes
Getting the right balance in vent pipes installation is essential. Here are some steps to follow:
- Start by finding the best spots for intake and exhaust vents, usually at opposite ends.
- Make sure the intake pipe is low to pull in cool air. The exhaust pipe should be high to get rid of warm air.
- Choose quality materials for your vent pipes for long-lasting performance.
- Check and clean your ventilation system often to avoid blockages and keep airflow smooth.
A well-designed ventilation system is a big improvement for any root cellar. With careful planning and vent pipes installation, you can keep your food fresh for longer.
Maintaining Ideal Temperature and Humidity

Keeping food fresh in your root cellar needs steady climate control. We’ll look at how to monitor temperature and manage humidity for the best storage.
Monitoring Temperature Levels
It’s key to watch the temperature in your root cellar. A good thermometer helps you keep the climate right, between 32°F to 40°F.
Record temperature at different times and seasons to keep it stable. Digital thermometers with remote sensors can alert you to any temperature changes.
Humidity Control Techniques
Humidity is as important as temperature. Keeping humidity between 85% and 95% keeps root veggies fresh longer.
To lower humidity, use pans of water or damp burlap sacks. For high humidity, open doors or windows and use ventilation pipes.
Use hygrometers often to watch humidity levels. This helps you adjust for the best climate in your root cellar.
Food Storage Tips for Your Root Cellar
Storing food in root cellars is more than just putting veggies in a cool, dark spot. There are special ways to keep your produce fresh and good for longer.
Best Vegetables for Storage
Knowing which veggies store well is key to a great root cellar. Here are some top picks:
- Carrots
- Potatoes
- Beets
- Cabbage
- Onions
- Garlic
- Parsnips
- Winter squash
These veggies love the cool, humid air of a root cellar. Each one has its own needs for packing and placement to stay fresh.
Preserving Techniques for Root Cellars
Preserving produce in your root cellar is more than just storing it. There are ways to make your food last longer.
- Proper Packing: Use sand or damp sawdust for carrots, parsnips, and beets to keep them moist.
- Organizing for Air Circulation: Don’t overcrowd the cellar. Use shelves to let air flow around the veggies.
- Disease Prevention: Check your produce often for rot or disease. Remove any bad items quickly to stop it from spreading.
By using these methods, you can keep your root cellar veggies fresh and full of nutrients for a long time.
Troubleshooting Common Issues

Owning a root cellar comes with its challenges. It’s important to tackle root cellar moisture issues and keep pests out. This helps keep your storage area functional.
Dealing with Moisture Problems
Dealing with too much moisture is a big concern in root cellars. Excess moisture can cause mold, mildew, and rot, harming your food. It’s key to have good ventilation and think about getting a dehumidifier if needed.
Also, check for any cracks or leaks that let moisture in and fix them fast. Using materials like silica gel packs or gravel on the floor can help manage moisture. Keeping the cellar cool but not too wet helps keep your food fresh longer.
Preventing Pests and Rodents
Keeping pests out of your root cellar is also vital. Rodents and insects can ruin your stored food if not stopped. Regular checks of your cellar can spot any entry points pests might use.
To keep pests away, use strong door seals, wire mesh over vents, and traps. Keeping your cellar clean by removing bad food quickly also helps. This makes it less likely for pests to infest.
Try natural pest control like mint or bay leaves, which can keep rodents and insects away. By taking these steps, your root cellar will stay safe and pest-free.
Enhancing the Root Cellar Experience
Turning a basic root cellar into a neat and beautiful space can really improve your storage experience. Adding efficient shelving and creative doorways makes it both useful and attractive.
Adding Shelving and Storage Solutions
Quality shelving is key for keeping your storage organized and efficient. Modular shelving lets you customize it to fit your cellar’s size. Choose durable metal or traditional wood for your shelves.
Using vertical space well can greatly increase storage. This lets you sort produce by type, freshness, or storage needs.
- Adjustable shelves to fit different produce sizes
- Slotted shelves for better air flow
- Bins and baskets for small items
Creative Ideas for Doorways
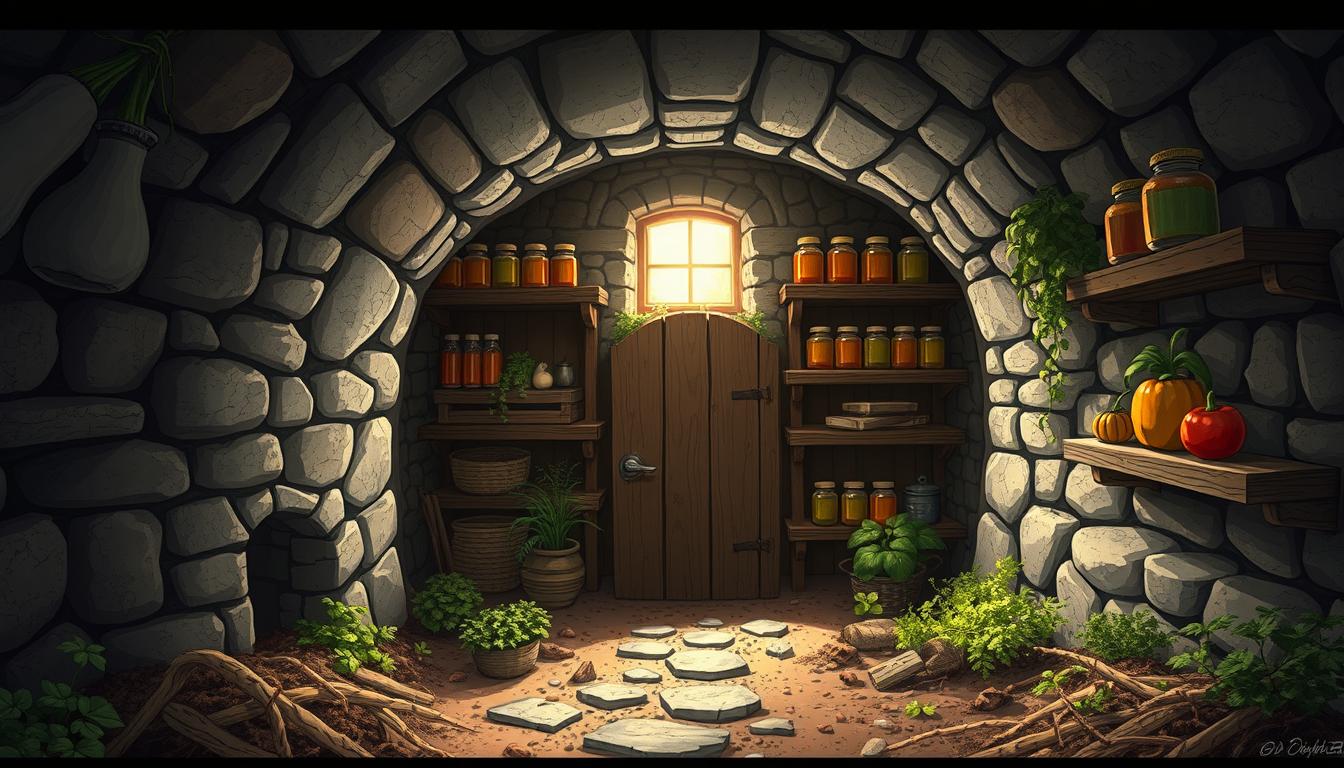
Unique entrances can make your root cellar welcoming and interesting. Use old doors or barn wood for a rustic look. A design that matches the landscape can also make your cellar blend in with nature.
- Use strong hinges and latches for security and durability
- Add insulation to the door to keep the temperature right
- Install a small window or vent for light and air
In conclusion, focus on shelving and storage solutions, and get creative with your cellar’s entrance. This way, you can make your root cellar both functional and beautiful.
Conclusion and Further Resources
Building a root cellar is a great way to store food. It’s a timeless method that offers many benefits. From finding the right spot to insulating it well, this guide helps you become more self-sufficient.
Summary of Key Points
We started by looking at root cellar history and benefits. Then, we talked about planning and picking the best spot. We covered different types of cellars, materials needed, and how to build one.
Insulation and ventilation were key to keeping the right temperature and humidity. We also shared tips for storing food, solving problems, and making your cellar better with smart shelving and doorway ideas.
Recommended Books and Websites
If you want to learn more, check out “Root Cellaring: Natural Cold Storage of Fruits & Vegetables” by Mike and Nancy Bubel. Also, “The Complete Root Cellar Book: Building Plans, Uses and 100 Recipes” by Steve Maxwell & Jennifer MacKenzie is great. Websites like the National Center for Home Food Preservation and Mother Earth News have lots of useful information.
By using these resources, you can build a root cellar that’s not just useful but also lasts long. Here’s to a successful and fruitful root cellar journey!

